
In this tutorial you will learn how to build servlet project in maven
Servlet Project in Maven
At first download and install the maven in your computer
Then open the command prompt and go to the location where you want to creat project and then type the following
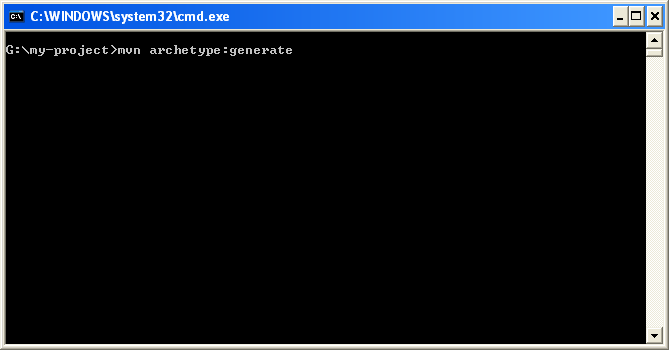
You will see the messages as
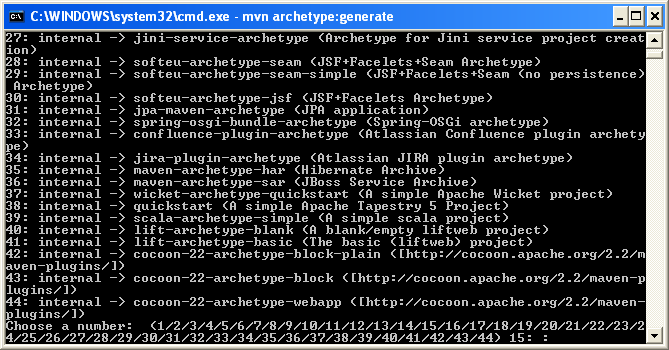
Select "18: internal -> maven-archetype-webapp (A simple Java web application)" as
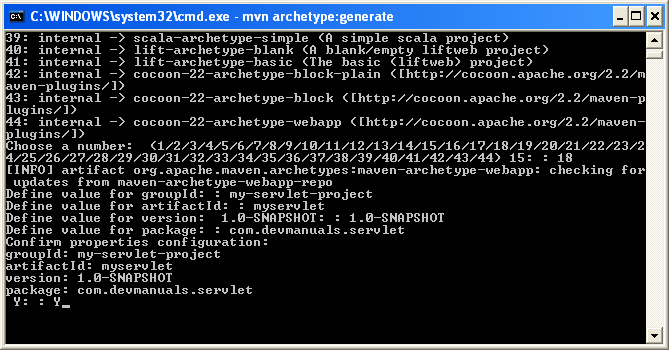
Here,
groupId- It identifies the project uniquelly across all the project, therefore we should follow the naming scheme.
Example- com.devmanuals.myproject.servlet
artifactId- This specifies the name of you jar file without specifying its version. while creating the project you shoud specify the jar file name.
Example- my-first-servlet-example.
SNAPSHOT - It is special version in maven which is indicates the latest code. It automatically grabs the recent code you buit for your project.
package - is the package of the project.
press Y for creating the project.
You will see the following project structure
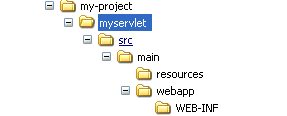
When you will open the myproject servlet you will find pom.xml. This specifies your project configuration, such as compiler plugin, dependencies ect.
<project xmlns="http://maven.apache.org/POM/4.0.0" xmlns:xsi="http://www.w3.org/2001/XMLSchema-instance"
xsi:schemaLocation="http://maven.apache.org/POM/4.0.0 http://maven.apache.org/maven-v4_0_0.xsd">
	<modelVersion>4.0.0</modelVersion>
	<groupId>my-servlet-project</groupId>
	<artifactId>myservlet</artifactId>
	<packaging>war</packaging>
	<version>1.0-SNAPSHOT</version>
	<name>myservlet Maven Webapp</name>
	<url>http://maven.apache.org</url>
	<dependencies>
		<dependency>
		<groupId>junit</groupId>
		<artifactId>junit</artifactId>
		<version>3.8.1</version>
		<scope>test</scope>
		</dependency>
	</dependencies>
	<build>
		<finalName>myservlet</finalName>
	</build>
</project>
Now add the following dependencies for servlet
<dependency>
	<groupId>javax.servlet</groupId>
	<artifactId>servlet-api</artifactId>
	<version>2.4</version>
	<scope>provided</scope>
</dependency>
Now make a directory named java im main directory and write your java classes their. To compile your application type the following command
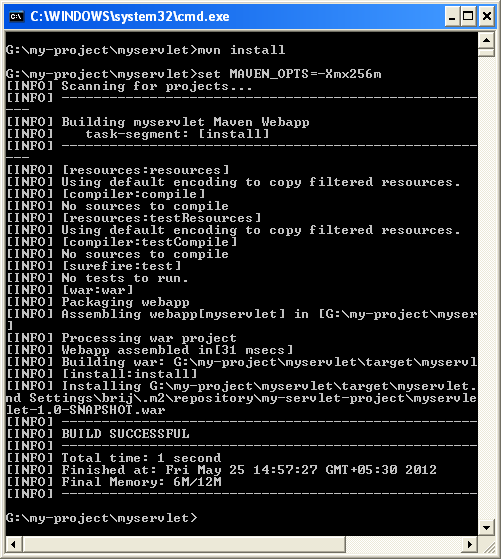
You will see the message "BUILD SUCCESSFUL" for successfully compilation of your project.
You can download sample java project from here
[ 0 ] Comments